Bushcraft: making a Useful Basket
- By John Fenna
-
1
 Comments
- Last updated: 19/05/2017


Part of my appreciation of bushcraft comes from using natural, locally obtained materials to fulfil my equipment needs – whenever possible and within my limited skills. For storing and carrying bits of gear and for foraging, I like to use baskets and, although I have a limited amount of willow (the most common materials for basket weaving), I do have a lot of brambles on the sites I use for practicing bushcraft, so my baskets rely a good deal on brambles for their construction. I will not pretend that bramble baskets last as well as willow baskets, but I do have some that are four or five years old and are still being used. Here, I will try to show the making of a bramble on willow frame ‘melon’ basket.
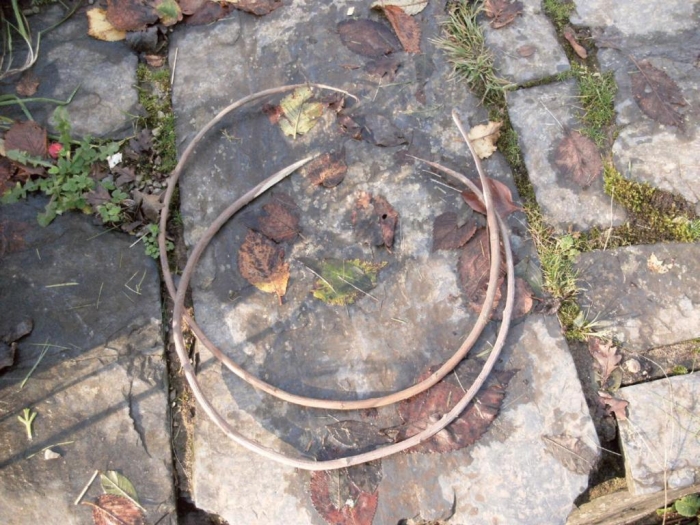
First, a word on preparing your materials. The willow I use is from the trees I planted in my garden and I use the longest, straightest wands I can find. I will use them either peeled – which is easiest done in spring when the bark (use it to make natural cordage) comes off easiest – or with the bark left on, when it can be harvested any time. Wands that I know are going to be used for ‘melon’ baskets (the shape is like a half melon) I will bend into hoops straight after I cut it, and dry to shape, but most willow is dried straight and needs soaking for around a week to restore its flexibility before you start using it. I use my canoe as a soaking vessel, but lengths of drainpipe work well too. The ideal willow wand is about 6ft long and about as thick as your little finger, or a pencil. This gives you a couple of hoops.
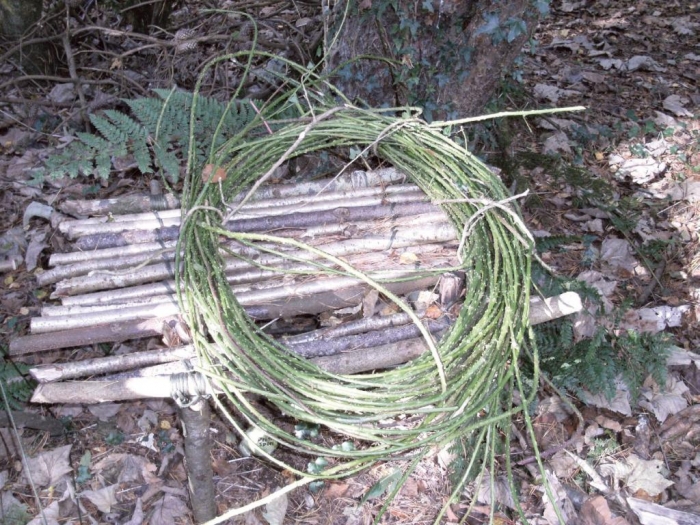
I like to harvest my brambles soon after the fruit is harvested and use it after a few days drying. The brambles shrink as they dry and if they are used too green, you end up with a slack weave. If you dry the brambles too much they, too, need a soaking to restore their flexibility. If you dry brambles too long, they never regain flexibility and can be used only as fuel for the fire!
After I ‘finish’ a melon basket, I leave it a few days, then squeeze the weave towards the ends to take up some of the slack and fill the resulting gap with more weaving. The ideal bramble is about 6ft long and about as thick as paracord – somewhere around 5mm wide at its thickest – and with as few leaves and divisions as possible. If you want to use bramble as your basket frame, then you want thicker material, somewhere around 1cm across, or a little more.
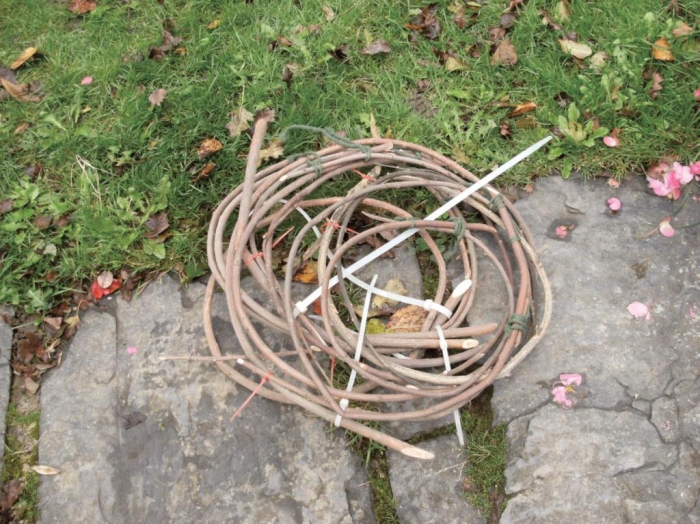
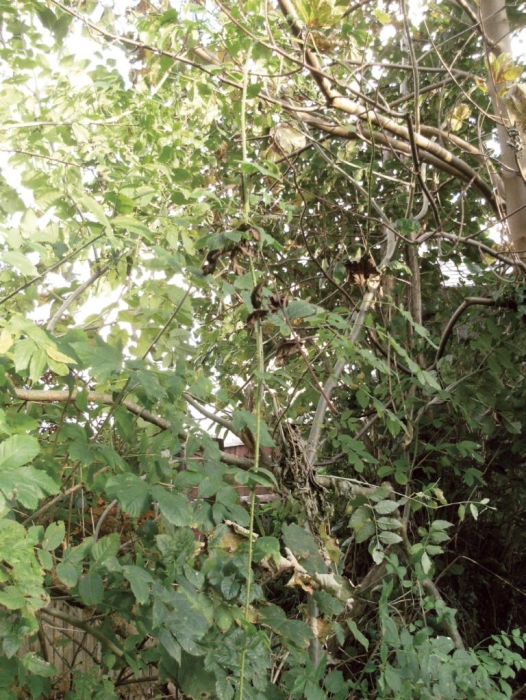
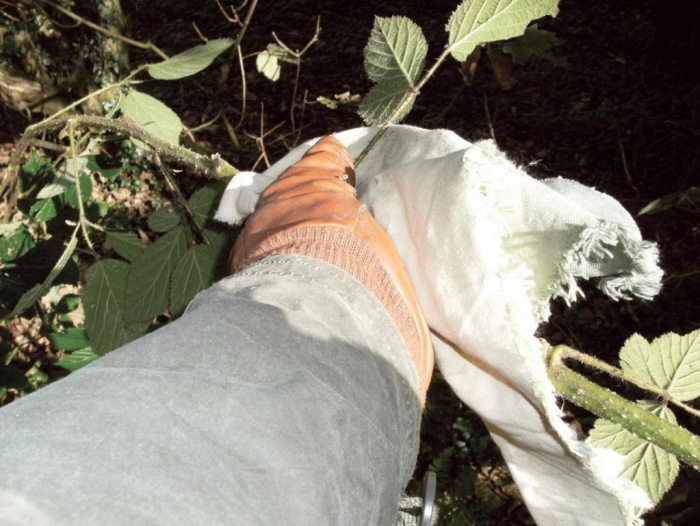
To harvest your bramble, either pull it up or cut it close to the ground (it may be rooted at both ends – it is one way they spread) and strip it of leaves, side shoots and, above all, its thorns. I do this by ‘scrubbing’ the lengths of bramble in both directions using a piece of canvas in one hand and pulling and pushing the bramble through my wellprotected hand. Naturally, I also wear tough gloves while harvesting brambles. I usually coil my bramble ‘weavers’ for carrying and storing them. If I am harvesting brambles to use for basket frames, I dry and store them in straight lengths.
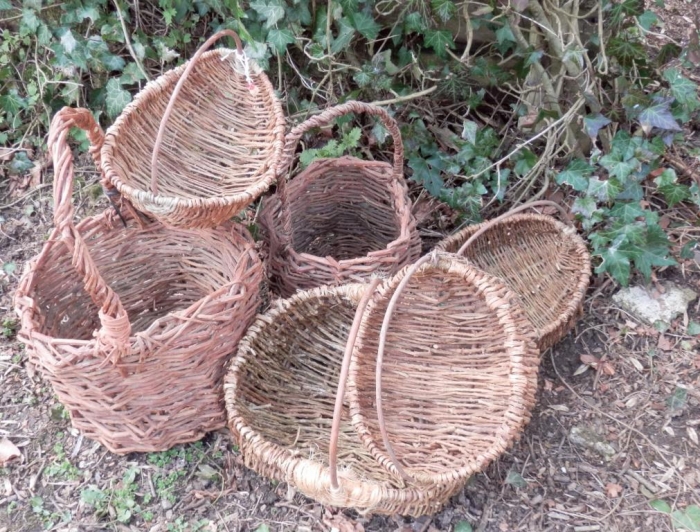
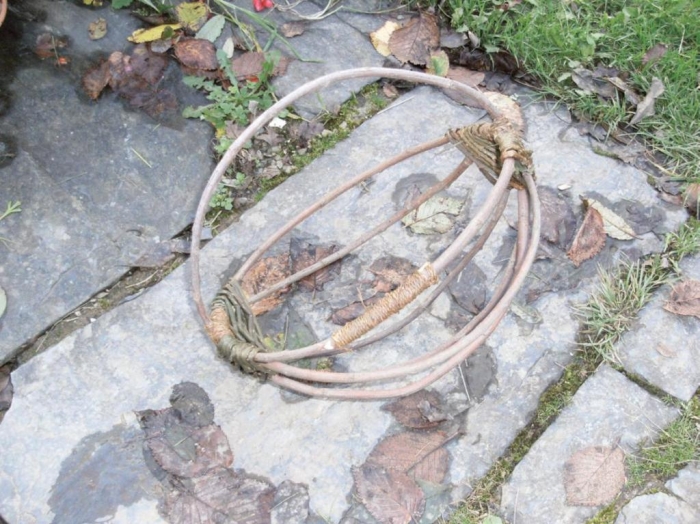
Melon baskets can be made as big or as small as you want, and your hoops prepared accordingly, but I tend to make them around 25cm to 30cm across and ‘deform’ the hoops to make them a little more oval than perfectly round. By deforming the hoops, you can also give them a flatter base. My first basket turned out very free-form, as I was using fresh willow, which deformed easily as I built the baskets. Using hoops that were dried to shape helps maintain a more regular shape.
This is where the main strength of the basket comes from and needs to be done solidly. Select the willow you are using for the rim and handle hoops and make a long ‘scarf’ join on each, thinning the ends, one end thinned from the outside and one thinned on the inside, so that when they overlap, the joins are not lumpy. I tend to use a long ‘sheer’ lashing, starting and finishing with a clove hitch, but with no frapping turns. I use a two-ply natural cordage from (I think) tanned willow bark for the lashing.
Once the hoops are ready, they can be made into the first stage of the frame – the handle and rim – by weaving in the first ‘weavers’. In this case, I used more of the same cordage, as I wanted great flexibility and hid the joins in the hoops in the body of the basket rather than leave them visible and as a lump in the handle. Start by positioning one hoop inside the other to give the proportions of handle to basket that you want- a right-angle join of equal sized sections is a good start.
To start the weaving, take the tip of your weaver or end of your cord on the inside of the basket handle hoop, with the end pointing down to the right, and then take the ‘working part’ of the weaver up to the left, around the outside of the handle (above the rim hoop level) and then diagonally down leftwards across the inside of the handle, trapping the tip of the weaver.
Take the weaver/cord around the outside of the handle hoop (below the rim hoop), back across the inside of the handle hoop (under the rim hoop level), under the rim hoop, wrap it tightly around the rim hoop and back down under the handle hoop and up to the rim hoop on the other side. The weaving continues under and over, rim hoop, handle hoop, rim hoop etc. etc. Always trying to keep it all neat.
Work from both ends toward the centre. When you finish a weaver, try to leave the end either trapped against the handle hoop or with the end tucked into the ‘pocket’ formed by previous turns of the weavers over the handle hoop.
I hope you can follow that! If it ends up looking like the photo you are doing it right!
These pockets will also form the housing for the ‘ribs’ or secondary frame members of the basket.
Once you have woven a couple or so weavers on each side of the basket, you can think about adding the ribs.
The ‘ribs’ (sections of frame that fit into the pockets formed in the weaving) are of a length to keep a nice curve to the shape of the basket and pointed at each end to make it easier to push them tight into each of the four pockets.
Once the ribs are in, you can keep on weaving the basket, working from each end, in a simple over and under weave. Try and end and start the weavers as near the centre line of the basket as possible and match the thickness of each weaver as much as possible. Toward the middle, you may find that there is a gap in the middle of the basket but there is no room for more weavers on the rim (it did not happen in this basket) – simply weave the centre on the ribs, ignoring the rim until the gap is filled.
Keep going until the basket is finished, trim any loose ends and any ends that are sticking out and the job is done!
Leave the basket somewhere warm and dry for a few days. If the weaving seems overly slack, push it towards the ends and add more weavers to the center or wherever there are noticeable gaps.
The basket in the photos took about four-hours to weave; and about as long to collect enough materials and prep them. The hoops were not soaked but dried to shape over the summer; the brambles were dried for about two weeks and then soaked for a week. The thinner and more flexible your weavers are, the easier they will be to weave with, but naturally you use more of them. You will be surprised how many weavers you use and when harvesting, collect about three times the amount you think you will use. If you intend using the melon baskets for harvesting small items, it is worth lining them with leather or canvas to stop small bits getting trapped in the weave of the basket.
Basket weaving can be very relaxing if it is going well, a calming, rhythmic, almost meditative practice, but if things are not going well – you will learn the origins of the phrase ‘a basket case’!
In a future article, I will look at making ‘bucket’ style bramble baskets. Have fun.
click on image to enlarge
click on image to enlarge
click on image to enlarge
click on image to enlarge
click on image to enlarge
click on image to enlarge
click on image to enlarge