
Bushcraft: Making Camp Comfortable
- By John Fenna
-
1
 Comments
- Last updated: 17/03/2017


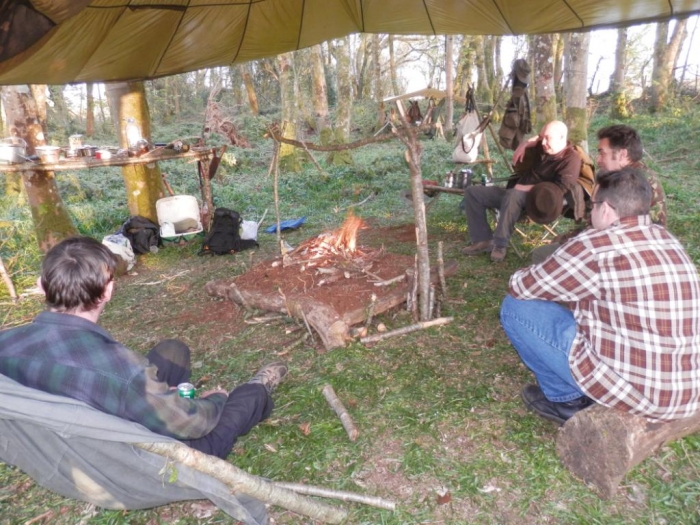
As Nessmuk said: “We do not go to the woods to rough it, we go to smooth it” and if a camp is not comfortable, then it is not going to be much fun!
If I am going to be in one spot for a few days, or if I am going to re-use a site often enough, I will make some semipermanent furniture to save my aching back and knees. I find a table, chair and a decent bed essential to my comfort and will spend time making them. A cooking frame over the fire makes getting a brew or a meal trouble-free, and there are simple gadgets to make that just make life easier. A little work at the start of a camp makes the rest of the stay luxuriously comfortable.
My main requirement is something dry and comfortable to sit on, and I do not like having to carry in a folding seat. Most are too fragile for woods living, or weigh far too much. I prefer a tripod chair. If you have suitable timber on site, this kind of chair is quick and easy to build, surprisingly comfortable, and once built, should last a couple of years.
You will need three straightish poles between four-to-sixfeet long and two more about five-feet six-inches to seven-feet six-inches long, all of them around two-to-three-inches across. Most woods will do. Take the three matching poles and lash them into a strong tripod. Two of the poles will form the back of the chair; the third will control the slope of the back. Set the tripod up to give the back a comfortable angle, and not so wide that you will fall through if you lean back to relax. Next, take the two longer poles and square lash one onto each leg of the tripod that will form the chair back. These longer poles are the seat bearers and need to be square lashed to the tripod legs just below knee height and sticking out about one-foot sixinches to the front and reach to near the foot of the back tripod leg for strength and stability. Once the seat bearers are lashed in place to the front of the tripod, lash their far ends to the back leg of the tripod. That is the seat frame complete. The seat itself is simply some thinner poles laid over the seat bearers. Make these overhang the bearers by about six-inches. Thin poles give a bit of ‘spring’ to the seat. You can ‘sew’ the seat poles to the bearers for security, or just leave them loose. If you leave them loose, you can fold the tripod flat to store it out of the way when it is not in use. Once complete, you can rest comfortably!
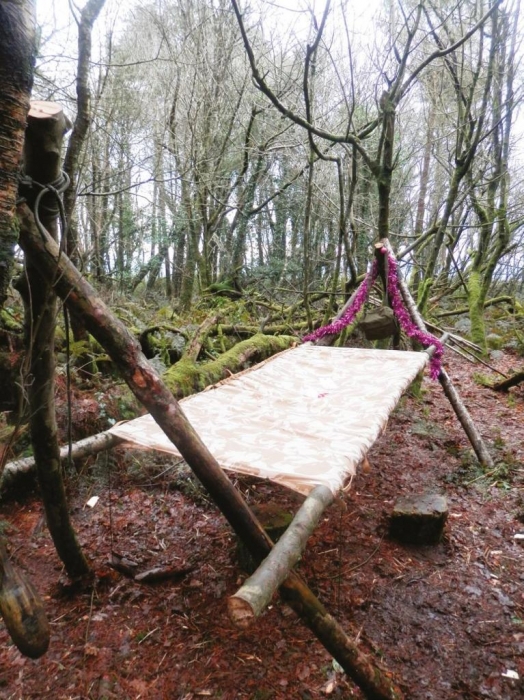
For a night’s rest, I like to get off the cold hard ground, either in a hammock or in a tripod stretcher bed. The latter gives great comfort and is simple to build.
Again, the basis for this is a tripod and you will need six smoothed poles some six-toseven- feet long and four-tofive- inches across to make the tripods at each end of the bed, and two smooth poles some nine-to-eleven-feet long for the stretcher poles. For my bed fabric I use ex-MOD ‘bashas’, which are super strong (designed to act as stretchers if needed) and cheap enough for what they are. I sew up the long sides of the basha with paracord sewn through holes I melt into the webbing reinforcing using a steel tent peg heated over a gas camping stove.
To assemble the bed, build the tripods with one ‘face’ of each facing the other, about the same distance apart as your fabric is long. Thread the tube of fabric over both poles and put the ends of the stretcher poles over the tripods at each end. Adjust the tripods until the fabric lays level.
When you lie on the bed, your weight tries to pull the stretcher poles in (but the tripod stops this), and down (but the flare of the tripod stops this too), and you achieve an almost ‘sprung’ mattress. Your insulation mat or natural insulation is stuffed into the tube (sew one end closed in the middle of the tube so it cannot be pushed out) and your bedding goes on top. Play with the ‘splay’ of the tripods to get your bed high enough that the sag of the fabric does not let your bum touch the ground and so that the bed is not so high as to be hard to get into. The tops of the tripods and the ends of the stretcher poles become clothing and gear hangers.
A table is simply made by lashing poles between conveniently placed trees, sturdy poles pounded in the ground, or a mix of trees and poles. Square lash long poles about one-totwo- inches across to the trees or poles to form the runners and then sew thinner poles to these runners to form the table top. If your table is wide, you may want to sew a long brace under the table top poles as a centre runner. This will want to be as wide as the side runner.
I like my tables quite high, as I normally find I stand to work at them, but you can suit your own requirements. Once the table is finished, you can trim all the poles level for a neat look.
To hold billycans over a fire, you can use my favourite ‘cooking frame and pot hanger’ combination. For the cooking frame, simply drive two forked sticks into the ground, one each side of the fire, and place a long, strong pole across them. The forked sticks can be replaced by lightweight tripods if the ground is hard or stony and the cross pole will need replacing every few months as it ‘cooks’ itself brittle. Pot hooks of various lengths can be hung from this cross pole to dangle your billies at various heights over the fire to control your cooking rate, from quick boil to slow simmer.
To make a pot hook, select a forked stick that is wide enough for to fit over the cooking frame cross pole and is about thumb-thick. Cut the stick about one-inch below the fork and the thinner part of the fork to about two-to-three-inches long. The thicker part of the fork is trimmed to as long as you like to hold the billycan at the ‘right’ height over the flames of the fire. About oe-inch from the end of the long fork you want to make a hook to take your pot’s bail handle. Cut a deep cross into the wood on the side opposite the short fork. Cut out three-quarters of the cross cut to leave a point sticking out pointing along the stick. Whittle out the wood behind the point, so that the bail handle of your pot easily and securely fits into the hook. Racks to keep your gear and clothing etc. off the ground can be fashioned from tripods or pairs of tripods with a cross pole like the cooking frame, while individual ‘coat pegs’ can be fashioned as for the pot hanger and lashed to trees with a simple loop of cord.
In some parts of the world you need to put your food high in a tree to avoid bears getting into it. In Britain the main threat to your food is from mice and, to a lesser extent, foxes, badgers and other animals. I always ‘mouse bag’ my food using tripods or ‘coat hangers’ to try and avoid encouraging animals into camp, so it is worthwhile making some of these handy gadgets!
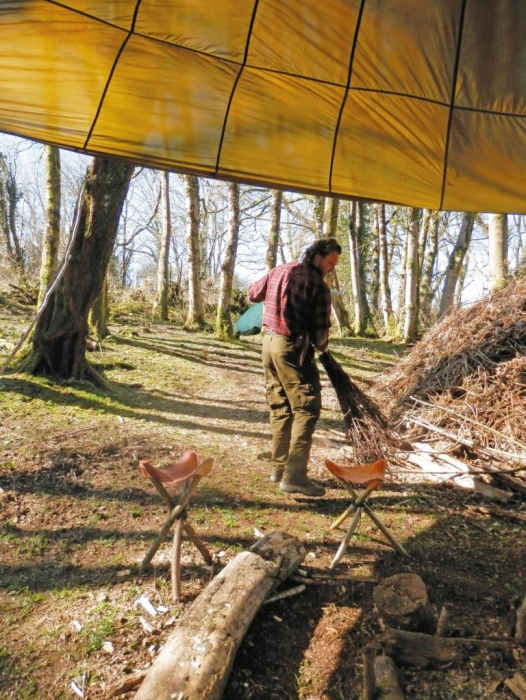
A permanent camp can get messy, so I like to have a broom to sweep up twigs, fallen leaves, wood shavings and spilt food. The simplest brooms to make are ‘birch besoms’, though pine boughs with lots of needles are also good.
Gather enough twigs to make a fat bundle and sheer lash them tightly together at the thick end in two places, or with one long sheer lashing. All the thick ends of the twigs want to be at this one end. Sharpen the end of a straight pole, which will form a comfortable broom handle and ram this into the thick end of the twig bundle until it is solid.
Chair, table, cooker, coat hooks and a broom to keep it all tidy – a home from home!
click on image to enlarge
click on image to enlarge

click on image to enlarge

click on image to enlarge
click on image to enlarge


 Folding Lock Knife")
