ZandVoorde Command Bunker
- Last updated: 01/11/2022


During the First World War, the term Western Front was used by the Allies to describe the line of trenches which separated them from the lines of German trenches. The first vestiges of this feature began to take shape in late 1914 and by 1915, this Front Line extended south from the Belgium coast on the North Sea to the Swiss border, a distance of almost 500 miles. The early phase of the war had been mobile, but from November 1914, both sides had begun to ‘dig in’ and trench warfare had begun.
At first, each side tried to construct strong trenches but artillery showed that something more substantial was needed. The German army had units called Armierungsbataillone, literally reinforcement battalions, whose purpose was to serve as pioneer units that were detailed to construct roads and trenches, and later build bunkers. These structures were used as troop shelters, machine gun posts and command posts. Whole lines of these were built with overlapping fire to dominate the battlefield and the forests of barbed wire strung along the front.
Today, more than 100 years later, many of these bunkers are still to be seen along the former Front Line, especially in the area known as the Ypres Salient, around the Belgian city of Ypres. In fact, visitors do not have to go very far to see examples of these bunkers which lie in farmers’ fields and in woodlands such as Polygon Wood. Many are freely accessible at locations such as Langemarck and Messines, plus some were quite sophisticated in design.
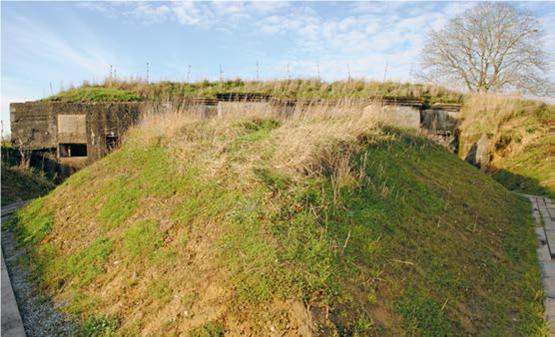
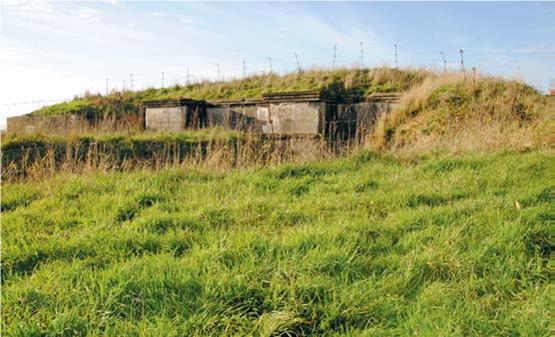
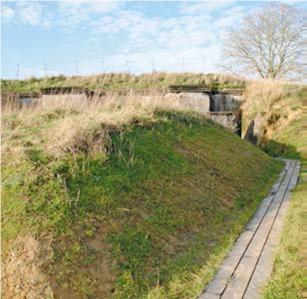
One of the most interesting to survive is a command bunker built in 1916 by a German pioneer unit at Zandvoorde for use by the regimental staff serving the area. It was built using a method of construction called ‘cut and cover’, which meant the shape was dug out below ground level as an open foundation. This was then lined with a wooden structure, called shuttering, leaving a gap behind the panelling into which was poured the concrete. The earth was then piled back on top to cover the site. This provided camouflage from aerial observation and the earth would give some protection from artillery shells by absorbing the blast of the explosions.
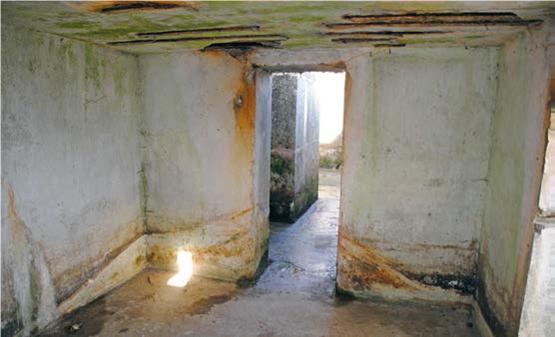
Apart from more than 100 years of weather, the bunker has survived to remain relatively intact. It comprises six rooms, which are inter-connecting and can be accessed from a corridor that leads from the entrance. The largest room was the command and control post, where communications were located and map tables would have been placed. From here, orders would have been relayed by telephone, radio or dispatch messenger. The other five rooms were used as crew quarters, including a sleeping area with bunk beds, and a work area for minor repairs to kit. It was built by the 3rd Company of the 27th Army Pioneer Battalion, a fact which is known because, above the entrance, the men placed a sign in cement which reads ‘Erbaut 3 Komp. Arm. Btl. 27 1916’.
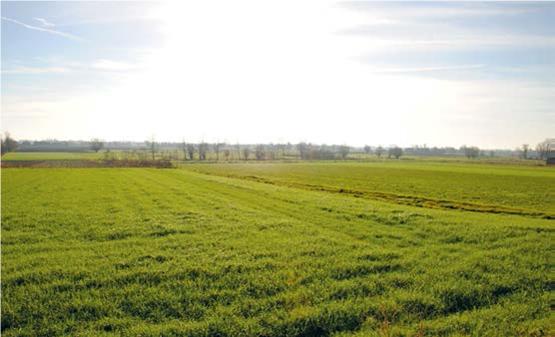
Zandvoorde lies some seven miles southeast of Ypres and is bisected by the Komenstraat road, which can be reached by following the N37 route south. In 1915, it lay deep in German-held territory and virtually on the Front Line. That is why in 1916, straddling as it did the strategically important logistical supply route, the site was chosen as the location where the command bunker would be built. In 1917, it was used as the divisional headquarters for the Zandvorde Division from where artillery received orders. The position remained in German hands until the area was liberated in 1918.
For almost 70 years the bunker was left neglected as a wartime curiosity to be visited by interested tourists. Then, in 1987 the municipal council of Zonnebeke intervened and renovated the bunker and made the site more accessible. In 2016 things at the site were taken a stage further and the landscape was re-modelled to replicate how it looked in 1918, to show the importance of the position. A small parking area, set back just off the road has been created and the entrance is easily accessible. Do not drive too fast, otherwise, you will go past it without realising.
The site is free and visitors can wander around at will to explore the earthworks of the location and understand the significance of its purpose. At one time the structure would have been well defended against attack and protected with barbed wire and trenches surrounding it. Some of these have been replaced to help in realising the defences. Unfortunately, all the vestiges have long since gone, but it is easy to interpret the interior as you walk from one room into another. It is an impressive construction and an important site to visit in order to understand things from the German perspective.
Because it is administered by the local community and not attached to any of the museums, it has an informal air about it which allows visitors to spend time interpreting things at leisure and orientating the location into the ‘bigger picture’ of the German defences. Among the other sites included within a couple of minutes’ drive from the command bunker are the impressive Life Guards memorial and the Commonwealth War Graves Commission cemetery which contains 1,583 burials. Among those in the cemetery are men from the 1st and 2nd Life Guards who were killed in the fighting in the area in October 1914 and whose memorial is close by.
If anyone should visit Ypres, then this is one site to put on your ‘must visit’ list. It’s only ten minutes from the town and it would be a pity to miss such a well-preserved piece of the Ypres Salient. It is a quiet part of the area and can lead on to other nearby locations such as Messines and the ‘infamous’ Hill 60. You would never forgive yourselves if you found out afterwards that you had missed this incredible location.

click on image to enlarge
click on image to enlarge
click on image to enlarge
click on image to enlarge
click on image to enlarge
click on image to enlarge


