Outfoxing Charlie - part III
- Last updated: 22/01/2020


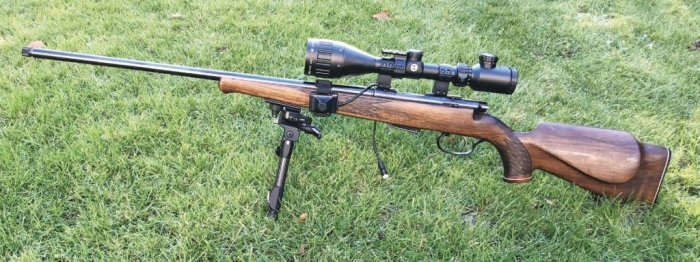
If you’ve read my previous articles on how I go about tackling foxes on a local farm, you will have seen that my rifle of choice is an Anschutz 1430-1434. It’s a real classic, in that it’s an elegant, walnut-stocked, bolt action sporter, chambered in another classic, or should that be ‘old fashioned’, the 22 Hornet round. As I’ve explained previously, it sits nicely between 22 WMR and 223 Remington and, for what I use it for, it’s perfect. It’s a relatively light gun with a traditional, slim ‘sporter’ profile barrel and it gets the job done really well, without too much blood and gore; in fact, most foxes that I shoot look remarkably healthy; apart from being dead, of course!
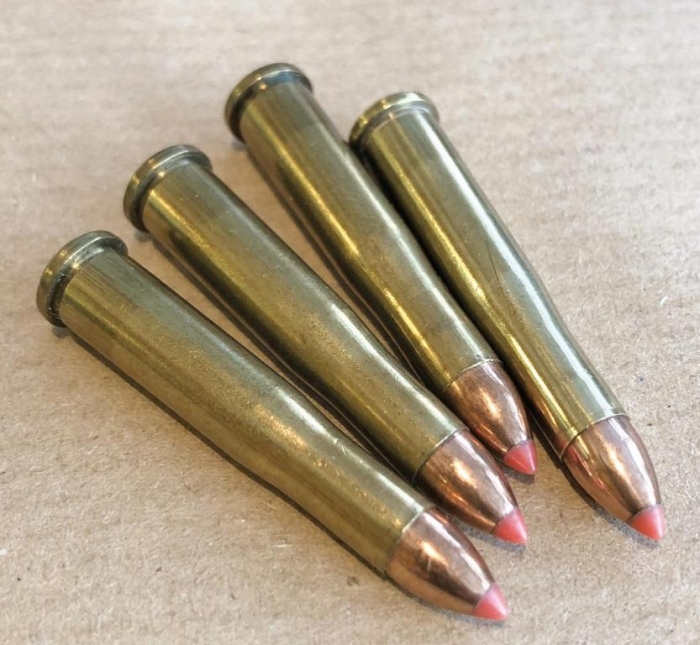
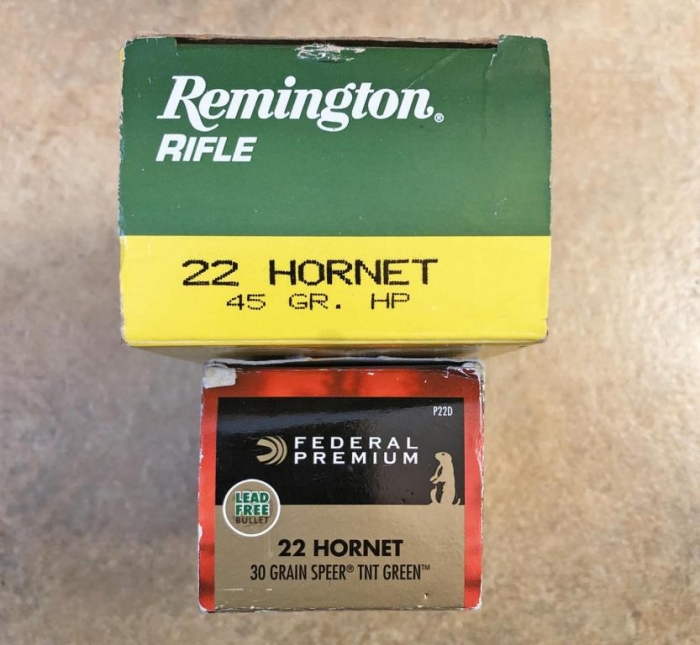
Hornet projectiles are generally around 40/45-grains, but I’ve had superb results from Hornady’s V-MAX, despite being only 35-grains. The bullets are traveling at around 2,800- 3,000 fps but their lightweight construction means that they break apart soon after impact and do the business inside the fox’s body, without coming out the other side. It’s generally impossible to see an entry or exit wound and this is why this calibre was so popular years ago, when fox furs were in demand for jackets and stoles.
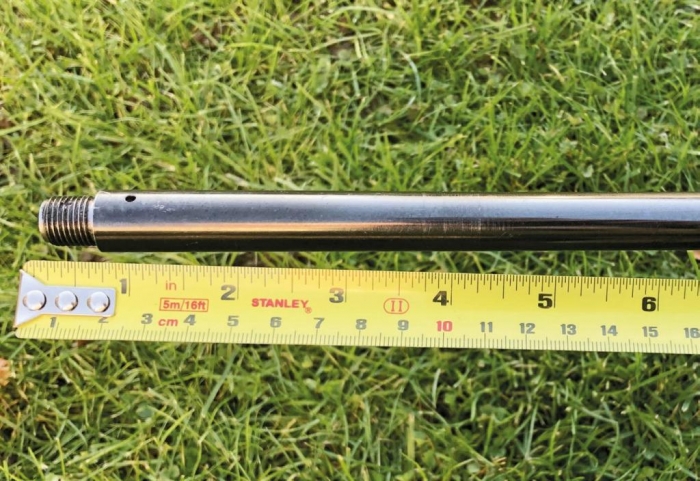
So, why am I mentioning all this? Well, seeing as most of my foxes are shot at 100 yards or less, a few foot pounds of energy here or there aren’t exactly going to make much difference, as far as clean kills are concerned; to that end, I propose to have the barrel shortened by four or six inches. This might seem a radical step, but as it’s now a whopping 24”, an 18 or 20” tube will, yes, lose me a few hundred feet per second, but will make the overall package much handier and a little lighter too.
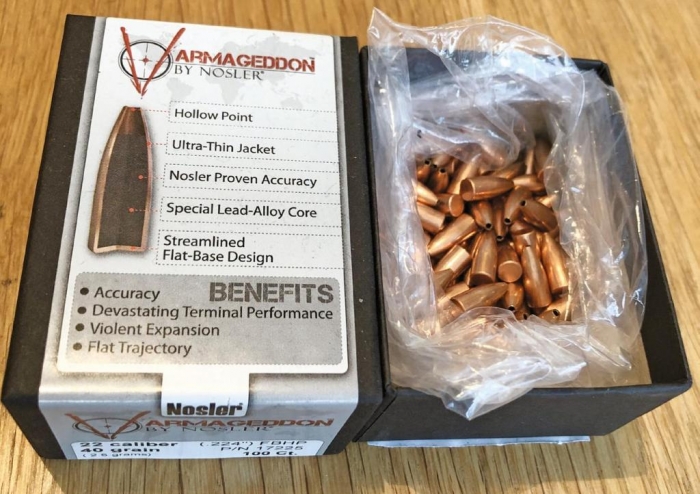
As I reload, I can probably gain a few more fps from a slightly larger powder charge (within safety limits of course!) but the Hornet cases are already pretty full as it is and there really isn’t any point going OTT with propellant. I guess I’ll experiment a bit, but if the shorter barrel means slightly less power, I really won’t be losing any sleep over it. I’m off to see Alison Green at Wildcat Rifles soon, and they are going to chop and thread my barrel for me, so I’ll hopefully be able to report back soon on the results. I’ve recently been sent some 40-grain Nosler Varmageddon bullets by Highland Outdoors and these flat-based hollow points have a great reputation as far as quality and down-range performance are concerned, so I’m hoping to be impressed.
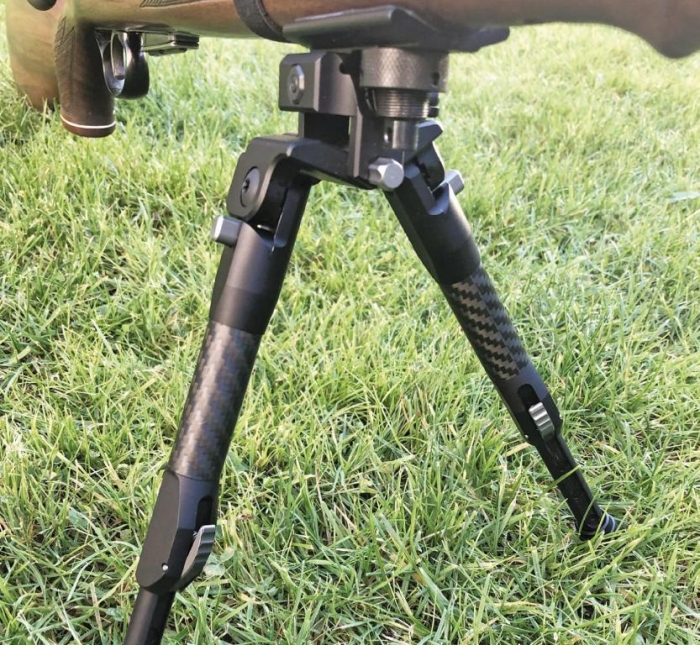
Another change will be the bipod that I’ll be using from now on. The current ‘pod, a Steinert NeoPod has a habit of falling off and it did it again recently and I was lucky to find it in the long, wet grass. Luckily I hadn’t moved far from where I’d last used it but that was the straw that broke the camel’s back, so I’ll be retiring it and using it during the day on my pre-charged air rifles around the farm. Luckily, I have a Tier One, 180mm, Tilt Carbon Tactical Bipod to replace it with. It’s made from high-spec 7075T6 aluminium and carbon fibre for the leg sleeves for a superior strength to weight ratio.
The swivel body hinges on the top section that has a quick release catch, allowing it to be fitted and removed in seconds via a small thumb lever that’s locked in the closed position by a sliding catch. When in the locked position, the lever clamps the bipod to the rail securely, but when you want to take it off, you simply slide the catch back, which allows the lever to swing open. I’ve attached it using a Picatinny adaptor on the front sling swivel stud. The legs are easy to deploy from their position under the forend and lock solidly as required. They are adjustable for length by pressing serrated catches on the bottom, whereby the inner sections pop out under spring tension. There are three machined ‘divots’ 20mm apart, so allowing three height adjustment positions, other than fully retracted, to suit most applications. The legs can of course be extended, so that they are not equal lengths, should the terrain be particularly awkward.
That’s the rifle and bipod sorted, what about the scope? Well, the Hawke Nite Eye SR 3-12 X 50 has served me well and has never needed to be re-zeroed all the time that it’s been on the Anschutz. Saying that as a working gun, it often gets bumped getting it out of the gun cabinet and bashed it on the odd gate or fencepost and it has toppled over a few times when the ground under it has been soggier than I’d thought! So, any new optic needs to be as reliable as the one it’s replacing and have good glass, build quality etc.
I tried a couple of alternative scopes from a few manufacturers, but to be honest I couldn’t get on with any of them! There was nothing at all wrong with them during the day, but at night I struggled with a couple due to their thin crosshairs and one would vanish from view altogether! It was easier to see with the illumination turned on but, even on the lowest setting, it seemed to flair out too much. I eventually went back to my good old Nite Eye in the end; maybe I’ve just got used to it over all these years, but at least now I know that I’m back with reliable and trusted kit!
The only other major alteration to my kit will be replacing the hard and shiny plastic buttpad with something a bit grippier. However, the current pad is curved to fit the contour of the wood, so that will need planing flat, which will need a lot of care; maybe my electric sander is the way forward, as I really don’t want to split the walnut! Wish me luck and I’ll report back when I’ve had a chance to test my alterations.
click on image to enlarge

click on image to enlarge
click on image to enlarge
click on image to enlarge
click on image to enlarge
click on image to enlarge
click on image to enlarge


