Getting into Field Target Shooting Part 4
- Last updated: 31/07/2017


Zeroing is the term used to describe the place at which the impact point of the pellet coincides with the aiming mark you have chosen! If you don’t have an accurate known zero for your rifle, you will never consistently hit your target! However, never confuse the zero point with the aiming point. Once set up correctly, there are only two points in the pellet’s trajectory that will coincide with your actual point of aim. Spending some time learning this trajectory will allow you to explore the full potential of the rifle and yourself.
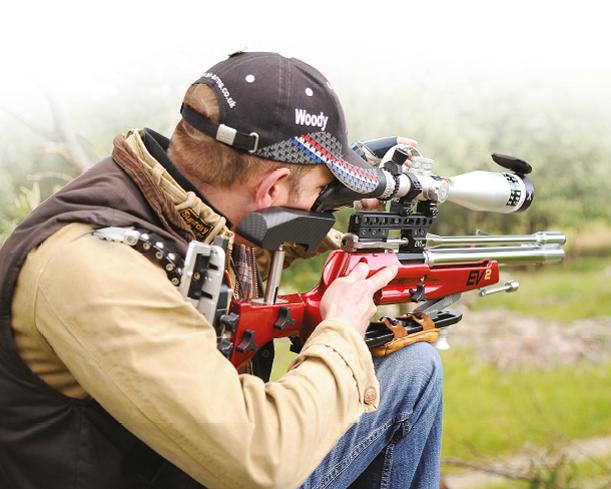
You should choose a calm day to perform your zeroing. Make sure that you have a stable shooting position on a solid bench, which will allow you to concentrate on aligning the cross hairs with the desired impact point. Avoid resting the barrel on anything solid, as this will have a detrimental effect on accuracy. If you have a soft bag, rest the forend on it and support the rear of the butt with your weak hand.
Mark a fine cross in the centre of a large card. I would use something at least a couple of feet square to be sure of hitting it somewhere and position it about 12 yards away. Whatever distance you have decided on doesn’t matter at this stage. It needs to be ‘on paper’ at close range, so that you don’t waste a tin of pellets trying to hit something set out at 30 yards +.
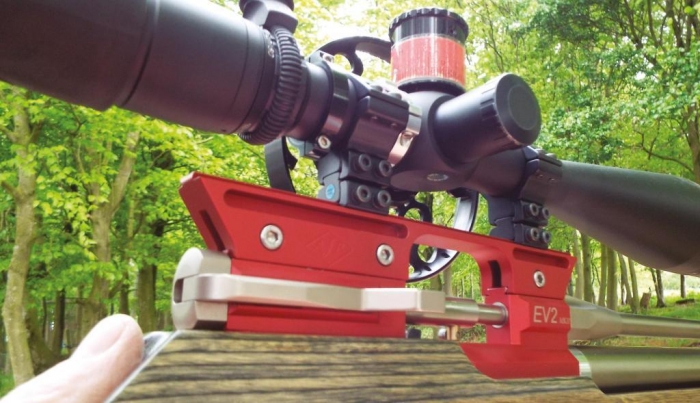
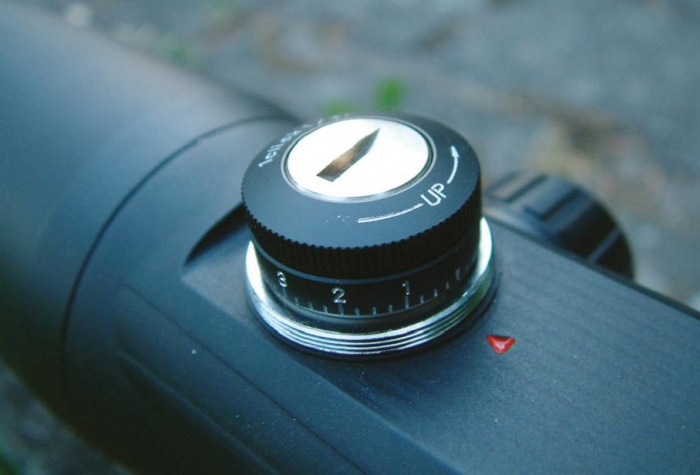
Fire a couple of shots at the cross and note the point of impact (POI) of the pellets. Let’s suppose that it’s low and left. To correct this, you need to rotate the turrets, check before hand which way they move for UP/DOWN, LEFT/RIGHT. They may be marked with click values such as ¼” or 1/8” @ 100 yards or even centimetres or directional arrows. If you look at the pictures of the turrets, you will see that one is divided into four subdivisions between the numbers, and the other is divided into eight. This is the ¼ and the 1/8th @100 yards I referred to.
Each mark, or ‘click’, represents the distance in parts of an inch or CMs that the POI of the projectile will be shifted at 100 yards and the numbers are known as a ‘minute of angle’ (MOA)! One MOA = 1” at 100yds, or 1.0472” to be precise. So four ¼ clicks will move the POI 1” @ 100 yards. The same logic applies to the 8th click settings, which allow for a finer adjustment. The fact that you are not shooting an air rifle at 100 yards doesn’t really matter.
For example, to move the POI ½” up @ 100 yards would require two, ¼” clicks. However, at 50 yards to move it the same amount will require four, or in this case, one MOA. At 25 it will take approximately six. In the case of 1/8th clicks; the above figures are doubled again. In the real world of setting up your air rifle, once the initial zero is set, the amount of clicks needed for each range is physically worked out by shooting at paper. Once the drop of the projectile is known, the click number can be used to good effect. Field Target shooters zero for every shot using this method!
So, our initial sighting shots are low and left: turn the turret on the right side (windage) in the direction of the ‘R’ arrow. Bearing in mind that you are only 12 yards away from the target, so it will take quite a few clicks to move it just a couple of inches, about 18 clicks with ¼ adjusters! Don’t twiddle with the elevation turret just yet!
Fire another couple of shots and see how much the POI has moved to the right. Repeat as required. Once you are satisfied it’s vertically aligned with the aiming mark, you can start on elevation adjustment, or bullet drop compensation (BDC) to continue the zeroing process.
No need to be precise at this point.
Now measure out your main chosen zero distance. This would normally be between 25 and 35 yards depending on requirements and personal choice. If you make the card a foot or so square, you should now be hitting somewhere on it depending on the distance. Using the same method as used at 12 yards, fire at a fine cross marked on the card, making adjustments with the BDC turret to adjust the POI to the required point. The windage adjuster should not need to be moved, provided conditions are calm with no wind. Don’t worry too much about the odd shot straying out of the cluster. Nobody’s perfect!
Now that the rifle is zeroed, in this case at 35 yards, the next step is to gather all the trajectory information. The method that I prefer is to use one large card marked with horizontal lines about an inch apart. Starting at 8 yards, fire your first 5-shot group at the same horizontal line and mark the card with the distance information, noting the impact point of your group. Move the card to 10 yards and repeat the same procedure.
Note that the POI is well below your actual aiming point at these ranges due to the difference between the sight line and the muzzle. This impact point will gradually decrease as the distance extends until both coincide for the first time and we will call this the first zero, or crossover point.
If you want to set the scope to be zeroed for each shot at all the ranges by dialling in each distance; FT-style, the same procedure is used, but this time, at each distance, adjust the scope to point of aim, counting and recording the clicks on the turret as you go.
This info can then be stuck on the side of the Rifle and eventually committed to memory. If your scope has not got target (easy dialling) turrets, you will need to build up ‘holdover’ information for each range, using the markings on the reticule. Simply note the actual POI on the reticle in relationship to the aiming point and that becomes the holdover position. On today’s multi line reticles, there should be various reference points available to include on the range card.
From the 10-yard position, move back 5 yards at a time until you reach your final range position, each time marking the card with the relevant info. It should be obvious that the info you end up with is reliant on the set up remaining exactly the same. E.g. same pellets, weight, velocity etc.
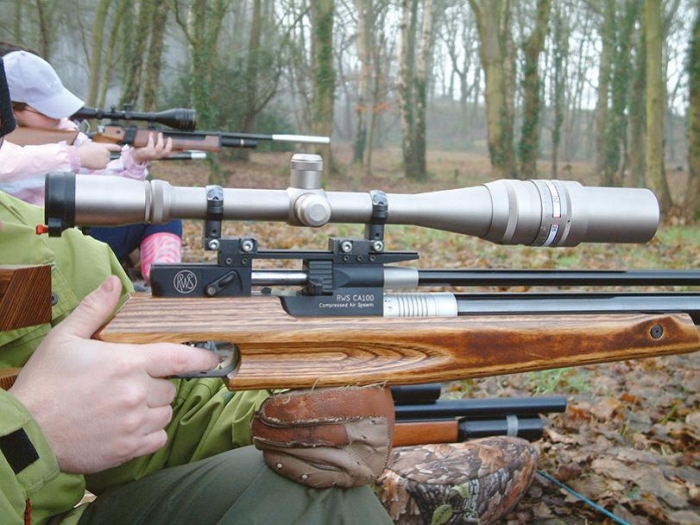
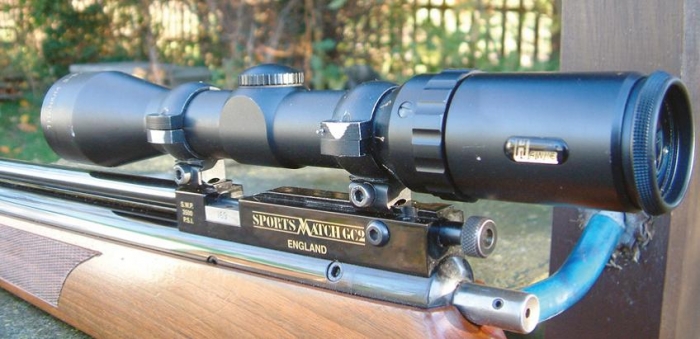
One other important factor is the height of the scope above the barrel. By using higher or lower mounts, a more comfortable head position can be achieved at the expense of changing all that ranging information obtained earlier. This can either be beneficial or detrimental depending on what you require from your particular set up. Generally speaking, the lower the scope to the barrel, the flatter the trajectory from close to mid range!
The higher the scope is mounted, the more pronounced the trajectory from the barrel to the line of sight or first zero, requiring more precise aiming points from close to mid range. The advantage is that at mid to longer range, the trajectory is more gradual, resulting in less ‘drop off’.
Take a look at the graph and the trajectory info to see the differences. The card was shot using the same aim point while moving back from close to 25 yards. The difference in the impact points are down to the mounting height of the scope. Bear in mind that I have gone from one extreme to the other with the scope height to demonstrate the dramatic change in trajectory path while maintaining the same main zero point of 35 yards.
Also, this is a .177 cal. pellet trajectory, although the same basic variations will apply whatever the calibre. Variations can also be applied to the main zero distance to further modify the trajectory.
I don’t have the space to cover all the permutations but you get the idea? A lot of playing about can be done to ‘customise’ your particular set up to suit your needs. Now all you have to do is practice regularly and get to know the trajectory and the ranges to your target. You will need to be estimating distance to within a couple of yards to hit accurately. Oh! Also pellet drift caused by the wind. These things are sent to try us! This is what we will look at next month. With different ranging methods available you will need to become proficient in at least one of them. The wind has dropped. Get out there and zero the Rifle!
click on image to enlarge
click on image to enlarge
click on image to enlarge
click on image to enlarge

click on image to enlarge
click on image to enlarge


